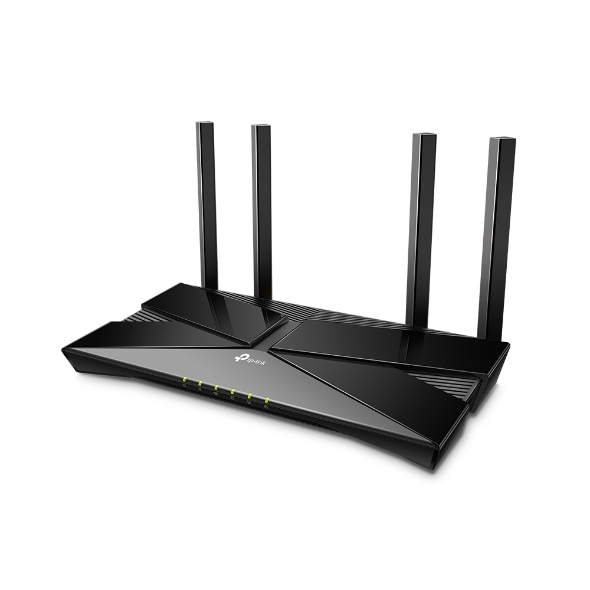
Router Configuration Guides
TP-Link Emulator: https://emulator.tp-link.com/vr400v3_emulator/index.htm
Physical setup (with NTD)
Place the router horizontally and orient the antennas vertically
Turn off the NTD
Connect an ethernet cable into the NTD
Connect the other end of the ethernet cable to the router WAN port
Power on the router
Power on the NTD
Physical setup (without NTD)
Place the router horizontally and orient the antennas vertically
Connect a telephone cable to the phone socket in the wall
Connect the other end of the telephone cable to the router VDSL port
Power on the router
Interface setup – Directly connected
Connect an Ethernet cable between the laptop and the LAN port of the router
Ensure the devices ethernet adapter is set to “Obtain IP address automatically“ (Dynamic)
Open CMD and issue ipconfig command
Retrieve the default gateway address (e.g 192.168.0.1) and paste it into an internet browser
Enter the router username/password to sign in to the router
Navigate to the Network tab
Navigate to WAN
For PPPoE connections
Connection type: PPPoE
PPP Username: Found under Frontier > Search “NWB Link“ in the top Search bar > Open Service > Radius Domain
PPP Password: Found in same location as username
Secondary connection: Disabled
Connection mode: Always on
Max idle timeout: 15
Authentication type: AUTO_AUTH
Interface setup – Via WiFi + mobile app
Download and open the TP-Link Tether mobile app
Select the + button > Router > Wireless Router
Follow the in-app steps to complete the initial setup
Go to your phone WiFi settings and find the SSID that matches name of the physical WiFi info card.
Connect to the network using the password on the WiFi card
Navigate back to the TP-Link Tether app
For PPPoE connections
Connection type: PPPoE
PPP Username: Found under Frontier > Search “NWB Link“ in the top Search bar > Open Service > Radius Domain
PPP Password: Found in same location as username
Here’s $10 just to sign up today!
Enter FREEMONEY at the CHECKOUT to get $10 off your first month with 10MATES! Easy huh?! Go on, do it, you won’t regret it


Want access to our members only section?
Get in touch with our team today to find out how you can qualify for access to a range of member only benefits!
Click this icon in the bottom right corner to start a chat!
